
Steal My Gluten-Free Flour Playbook & Bake with Confidence

The Complete Guide to Gluten-Free Flour Substitutions (So Your Baking Actually Works)
Gluten-free flour substitutions don’t have to feel like chemistry class. With a few simple rules, the right flour blend, and a bit of practice, you can confidently swap flours in your favorite recipes without ending up with gummy muffins or crumbly cookies. This guide walks you step-by-step through how to substitute gluten-free flours in everyday baking, which swaps are worth trying, and which ones to avoid if you value your sanity (and your chocolate chips).
Download Our Free Gluten-Free Starter Guide
- 7-day meal plan
- shopping list
- Tips & 3 beginner-friendly recipes
Introduction
If you’ve ever swapped wheat flour for “whatever gluten-free flour was on sale” and pulled a pan of dry, sandy muffins out of the oven…welcome, you are absolutely in the right place. Gluten-free baking isn’t just about removing gluten; it’s about learning how different flours behave so you can choose the right one for the job and substitute with confidence.
Traditional recipes rely on gluten for structure, elasticity, and chew. When we take gluten out, we have to replace its job with a smart combination of gluten-free flours and sometimes binders like starches or gums. That’s why one gluten-free flour can’t magically do everything that wheat flour does in every recipe, at least not without a plan.
In this guide, we’ll break down the most common gluten-free flours, how to substitute them in everyday baking, and how to avoid common pitfalls like grittiness, gumminess, or cakes that sink dramatically in the center. Think of this as your practical, no-drama roadmap to gluten-free flour substitutions you can actually use on a Tuesday night.
1. Understanding Gluten-Free Flours & Blends
Before you start swapping flours, it helps to understand what’s actually in that bag of gluten-free flour on your counter. Unlike wheat flour, which is just ground grain, most gluten-free “all-purpose” flours are blends of several ingredients designed to mimic the performance of wheat.
Single gluten-free flours vs. blends
Single flours are made from just one ingredient. Common examples include:
- Rice flour (white or brown)
- Almond flour
- Coconut flour
- Sorghum flour
- Oat flour (certified gluten free)
- Buckwheat flour
- Teff or millet flour
These flours each have strong personalities: some are high in protein, some are very absorbent, some are soft and starchy. They are rarely swapped one-for-one with wheat flour on their own. Instead, they’re usually part of a blend.
Gluten-free all-purpose blends combine a base flour (like rice or sorghum) with starches (like tapioca, potato, or corn starch) and sometimes xanthan gum or guar gum for structure. The best blends are purpose-built to replace wheat flour cup for cup in many recipes, especially cookies, muffins, quick breads, and pancakes.
Why “1:1” or “cup-for-cup” matters
When a flour is labeled “1:1,” “cup-for-cup,” or “measure for measure,” it’s been formulated so you can swap it directly for regular all-purpose wheat flour by volume (or weight) in most traditional recipes. That means:
- 1 cup wheat flour → 1 cup 1:1 gluten-free flour blend
- No extra math, no extra ingredients needed in many simple recipes
Is it perfect 100% of the time? No. Yeast breads, very delicate cakes, and pastries still sometimes need extra tweaks. But for everyday home baking, a good 1:1 blend massively simplifies substitutions and dramatically increases your success rate.
The role of starches and gums
In wheat flour, gluten provides stretch and structure. In gluten-free baking, we recreate those qualities with a combination of:
- Starches (tapioca, potato, corn) – for lightness, tenderness, and that slightly chewy bite
- Gums (xanthan or guar) – to help trap air bubbles and give structure so baked goods don’t crumble
Many all-purpose blends already contain xanthan gum. In that case, you usually do not need to add more gum to recipes that call for it. Too much gum leads to gummy, rubbery textures.
When single flours still shine
Even if you stick to a reliable 1:1 blend for daily baking, single flours still have their place:
- Almond flour for rich, moist cakes and cookies
- Coconut flour when you need high fiber and are prepared for high absorbency
- Oat flour for homey muffins, snack bars, and pancakes
- Sorghum or buckwheat to add whole-grain flavor and nutrition
The key is knowing when to use them on their own (in recipes specifically written for them) and when to keep them as bit players in a larger blend.
2. How to Substitute Gluten-Free Flour in Everyday Recipes
Now let’s get practical: how do you actually take your favorite chocolate chip cookie or banana bread recipe and make it gluten free without reinventing the wheel?
Step 1: Start with the right kind of recipe
The easiest recipes to convert with a 1:1 gluten-free flour blend are:
- Cookies (drop cookies, bars, shortbread)
- Muffins and quick breads
- Pancakes and waffles
- Cake recipes that are fairly moist and forgiving (think snack cakes, not wedding cakes)
Recipes that are trickier and may need extra tweaks:
- Yeast breads and pizza dough
- Angel food cake and chiffon cakes
- Pastries, croissants, laminated doughs
- Very thin crepes without eggs or extra binders
Step 2: Swap the flour 1:1 by volume or weight
If your blend is designed for 1:1 substitution, follow this basic rule:
- Use the same cup measurement the recipe calls for, or
- Use the same weight in grams if the recipe lists it (this is even more accurate)
Example: your recipe calls for 2 cups of all-purpose wheat flour. Use 2 cups of your gluten-free 1:1 flour instead. That’s it for the flour portion—no extra flours or starches needed unless you’re working with a specialty recipe.
Step 3: Adjust liquids only if needed
Gluten-free flour blends can be slightly more or less absorbent than wheat flour depending on the mix. A few clues your batter needs a tiny adjustment:
- Too thick: cookie dough that won’t come together or cake batter that’s like cement → add 1–2 teaspoons of milk or water at a time.
- Too thin: pancake batter that runs like water or muffin batter that pools → add 1–2 teaspoons of flour at a time.
Keep adjustments small; big changes usually mean something else in the recipe is off.
Step 4: Let batters and doughs rest
This is one of the easiest gluten-free “secret weapons.” Letting your batter rest gives the flour and starches time to hydrate, which:
- Reduces grittiness
- Improves structure
- Leads to more even baking
As a general guide:
- Pancake & waffle batter: rest 10–15 minutes
- Muffin & quick bread batter: rest 10–20 minutes
- Cookie dough: chill 30–60 minutes for best texture and flavor
Step 5: Bake low and slow (ish)
Gluten-free baked goods often benefit from slightly lower temperatures and/or longer bake times to bake through without over-browning the outside. If you notice that your cakes brown too quickly but are raw in the center, try:
- Reducing the oven temperature by 25°F (about 10–15°C)
- Adding 5–10 minutes to the total bake time
- Tenting loosely with foil if the top is browning too fast
Step 6: Cool completely before cutting
Without gluten, structure continues to set as baked goods cool. If you slice a cake or bar while it’s hot, it may crumble or fall apart—and you’ll assume the recipe failed when it was actually just impatient snacking. Let items cool most of the way before cutting or removing from the pan.
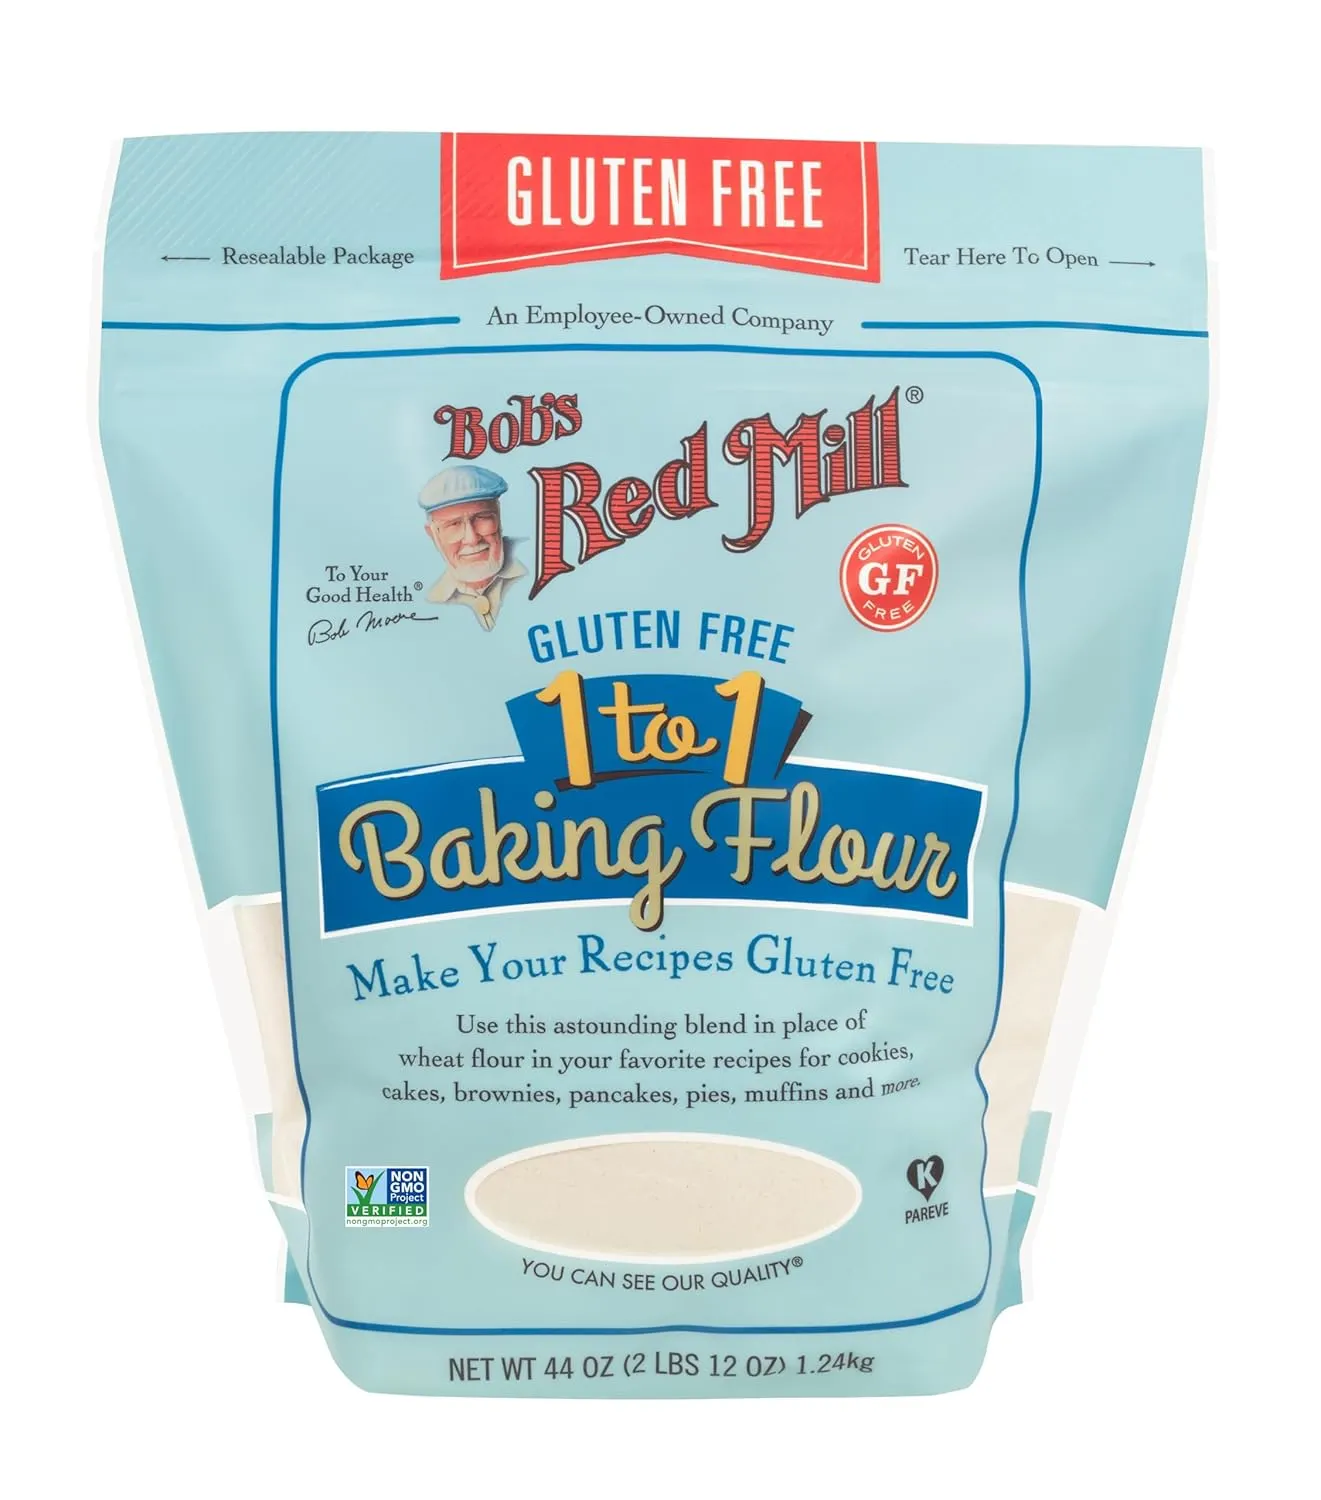
Bob’s Red Mill Gluten Free 1 to 1 Baking Flour
This is the gold-standard gluten-free all-purpose flour. It behaves beautifully in pancakes, muffins, cookies, quick breads — and it’s the ideal flour to recommend in ANY practical baking guide. Reliable, consistent, and approved by thousands of gluten-free home bakers. Perfect for articles about technique, substitutions, and baking success.
3. Best Gluten-Free Flour Substitutions by Recipe Type
Some substitutions work beautifully in certain recipes and fall flat in others. Use this section as a quick-reference guide when you’re deciding what to use where.
Cookies
Best choice: a 1:1 gluten-free all-purpose blend.
Cookies are one of the easiest things to convert because they don’t rely heavily on gluten for height. Fat, sugar, and eggs do a lot of the heavy lifting. A few tips:
- If the recipe already calls for chilling the dough, keep that step—it helps gluten-free cookies too.
- For chewier cookies, don’t overbake; they should still look a little soft in the center when you pull them out.
- For thinner, crisper cookies, you may need 1–2 teaspoons less flour per cup.
Muffins & quick breads
Best choice: 1:1 blend, occasionally boosted with a tablespoon or two of oat flour if you enjoy a heartier texture.
These batters are quite forgiving. Focus on:
- Not overmixing once the flour is added
- Filling muffin cups almost to the top for a higher dome
- Testing with a toothpick in the center – it should come out clean or with a few moist crumbs
Cakes
Best choice: 1:1 blend for snack cakes and layer cakes with enough moisture (oil, buttermilk, sour cream, yogurt, or fruit).
For lighter cakes, it helps to:
- Use room-temperature ingredients so they emulsify properly
- Beat butter and sugar thoroughly to incorporate air (if the recipe calls for creaming)
- Rest the batter briefly before baking
- Avoid opening the oven door in the first 15–20 minutes
Pancakes & waffles
Best choice: 1:1 blend; buckwheat, oat, or sorghum flour can be added for flavor.
Because these are cooked on the stovetop or waffle iron, they’re very forgiving. Watch for:
- Batter that’s pourable but not watery
- Bubbles forming and edges setting before flipping pancakes
- Light greasing of the pan or iron to prevent sticking
Yeast breads & pizza dough
Yeast breads are where flour substitutions stop being a simple swap and become recipe development. Traditional wheat bread relies heavily on gluten to trap gas bubbles and create that stretchy, chewy crumb.
For best results:
- Use recipes specifically created for gluten-free yeast baking.
- Expect doughs to behave more like thick batter than kneadable dough.
- Measure by weight when possible for consistency.
Coatings, roux, and sauces
Flour isn’t just for baking. For savory cooking, these substitutions work well:
- Breading / coating: a 1:1 blend or straight rice flour for a light, crisp crust.
- Roux & gravies: 1:1 blend works nicely; whisk well and cook the flour for a minute to remove any raw taste.
- Thickening sauces: a small amount of cornstarch or arrowroot slurry can be used instead of flour.
Recipe Inspiration
Try these gluten-free staples loved by thousands:


4. Common Mistakes (and How to Fix Them)
Even experienced bakers hit bumps when they switch to gluten free. The good news: most issues come from a short list of common mistakes that are easy to fix once you recognize them.
1. Using a single flour as a 1:1 swap
Problem: You replace wheat flour with only almond, coconut, or rice flour and end up with dense, crumbly, or dry results.
Fix: For most standard recipes, use a well-formulated all-purpose gluten-free blend designed for 1:1 substitution. Save single flours for recipes that are written for them.
2. Adding extra xanthan gum “just in case”
Problem: Baked goods turn out gummy, rubbery, or oddly bouncy.
Fix: Check the ingredient list on your gluten-free flour blend. If it already includes xanthan gum or guar gum, you typically do not need more, even if the original recipe (written for wheat) calls for it.
3. Overmixing the batter
Problem: Tough or dense texture, especially in cakes and muffins.
Fix: Mix just until the flour is incorporated. Because there’s no gluten to develop, there’s no benefit to extended mixing after the dry ingredients go in. Gentle folding is your friend.
4. Not resting batters
Problem: Slightly gritty or uneven texture, especially with rice-based blends.
Fix: Build in a rest period of at least 10–15 minutes for most batters. This simple step gives the flour time to hydrate and softens any rough edges.
5. Baking only by time, not by doneness
Problem: Undercooked centers or dried-out edges.
Fix: Use visual and physical cues:
- Cakes: the center springs back lightly when touched, and a toothpick comes out clean or with a few moist crumbs.
- Muffins: tops look set and lightly golden; they shouldn’t wobble in the middle when you jiggle the pan.
- Cookies: edges are set and lightly golden; centers may still look a touch soft but will firm up while cooling.
6. Cutting while still hot
Problem: Bars, brownies, and cakes fall apart when sliced.
Fix: Let baked goods cool almost completely in the pan. For many recipes, a short chill in the fridge before cutting gives the cleanest slices.
5. Practical Tips for Consistent Gluten-Free Baking
Success with gluten-free flour substitutions isn’t about perfection; it’s about building habits that stack the odds in your favor every single time you bake.
Weigh when you can
Measuring flour by weight is more accurate than using cups, especially with blends that can pack down in the bag. If your recipe lists grams, use them. If it doesn’t, a general reference is:
- 1 cup gluten-free flour blend ≈ 120–140 grams (check the brand’s recommendation if available)
Once you find a weight that works well with your favorite blend, stick with it for consistent results.
Store flour properly
Gluten-free flours and blends can go stale or absorb odors more quickly than wheat flour. To keep them fresh:
- Store in an airtight container.
- Keep in a cool, dark place; many bakers prefer the fridge or freezer for longer storage.
- Bring flour to room temperature before baking for best results.
Make notes on your recipes
When you convert a favorite family recipe, treat the first time as a test run. Write down what you did and how it turned out:
- Which flour blend you used
- Any extra liquid or time adjustments
- What you’d change next time (if anything)
By the second or third bake, you’ll have your own “house” gluten-free version that works every time.
Start with reliable base recipes
Whenever possible, begin with recipes that are either:
- Already tested and published as gluten free, or
- Simple, moist recipes that don’t demand a ton of structure (like brownies, snack cakes, or banana bread)
Once you’re comfortable, you can tackle more finicky recipes—and you’ll have the experience to know what normal gluten-free batter and dough should look and feel like.
Be kind to your first tries
Even seasoned gluten-free bakers still have the occasional wonky loaf or flat cookie sheet. Instead of labeling a bake as a failure, treat it as data: what worked, what didn’t, and what you’ll try differently next time. And remember—slightly crumbly cake is still delicious with a scoop of ice cream on top.
With a trustworthy gluten-free flour blend, a few simple substitution rules, and a willingness to take notes as you go, you can rebuild your favorite baking traditions without gluten—and without a lot of guesswork.
Key Takeaways
- Use a high-quality 1:1 gluten-free flour blend for the easiest, most reliable substitutions in everyday recipes.
- Start with naturally forgiving recipes like cookies, muffins, quick breads, and pancakes before tackling yeast breads and delicate cakes.
- Resting gluten-free batters and doughs improves texture, reduces grittiness, and helps baked goods hold together.
- Avoid common pitfalls like overmixing, adding extra xanthan gum, or baking strictly by time instead of checking for doneness.
- Take notes, adjust gradually, and treat each bake as a learning opportunity—consistency comes quickly once you dial in your favorite flour and methods.
Take the Next Step in Your Gluten-Free Journey
- Download the Free EGF Starter Guide
- Try our Gluten-Free Planner to simplify your week
- Explore our growing recipe library
You don’t have to navigate the gluten-free lifestyle alone, we are here to make it easier every day.
Category: Baking Basics
