by Claire Bennet | Easy Gluten Free
Hey friend,
When I first went gluten-free, my kitchen felt like a gluten crime scene.
There was flour everywhere. Cutting boards I couldn’t trust. A toaster that had betrayed me more times than I could count.
But here’s the truth: creating a gluten-free kitchen doesn’t have to be expensive or overwhelming. You don’t need to throw everything out and start from scratch (unless you want to). You just need a plan — and a few tricks from someone who’s been there.
Let’s make your kitchen feel safe, inviting, and yours again
Why a Dedicated Gluten-Free Setup Matters
Even tiny crumbs of gluten can cause major problems — especially if you’re living with celiac disease or non-celiac gluten sensitivity.
That’s where cross-contamination comes in.
A shared spoon, toaster, or flour-covered countertop can be all it takes to trigger a reaction.
That’s why a gluten-free setup isn’t a luxury — it’s a form of self-care.
Need help understanding celiac vs. sensitivity? Check out this post:
“Celiac Disease vs. Gluten Sensitivity: What’s the Difference?”
Step 1: Start With a Deep Clean
Wipe everything. I mean everything.
Flour dust is sneaky and gets into corners you didn’t know existed.
Clean:
- Countertops
- Inside drawers and cabinets
- Appliances (especially mixers and toasters)
- Utensil trays
- Fridge and pantry shelves
Use hot soapy water and get into those crevices. I light a candle after a deep clean — a little kitchen reset ritual I love. 🕯
Step 2: Identify Shared vs. Dedicated Tools
If you live with gluten-eaters, you’ll need to separate some kitchen items.
Tools to keep gluten-free-only:
- Toaster (crumbs are ruthless)
- Wooden spoons (they’re porous)
- Colanders (impossible to clean completely)
- Nonstick pans (scratches can trap gluten)
- Cutting boards (wood or plastic — gluten hides in grooves)
You can label these tools, color-code them, or keep them in a dedicated gluten-free drawer or bin.
Step 3: Stock Up on Safe Staples
Now that your space is clean, it’s time to bring in the good stuff!
Here are some of my go-to pantry basics:
- Certified gluten-free oats, pasta, and grains
- Almond flour, coconut flour, and GF all-purpose flour
- Tamari or coconut aminos (instead of soy sauce)
- GF baking powder, vanilla extract, and condiments
Need a full shopping list?
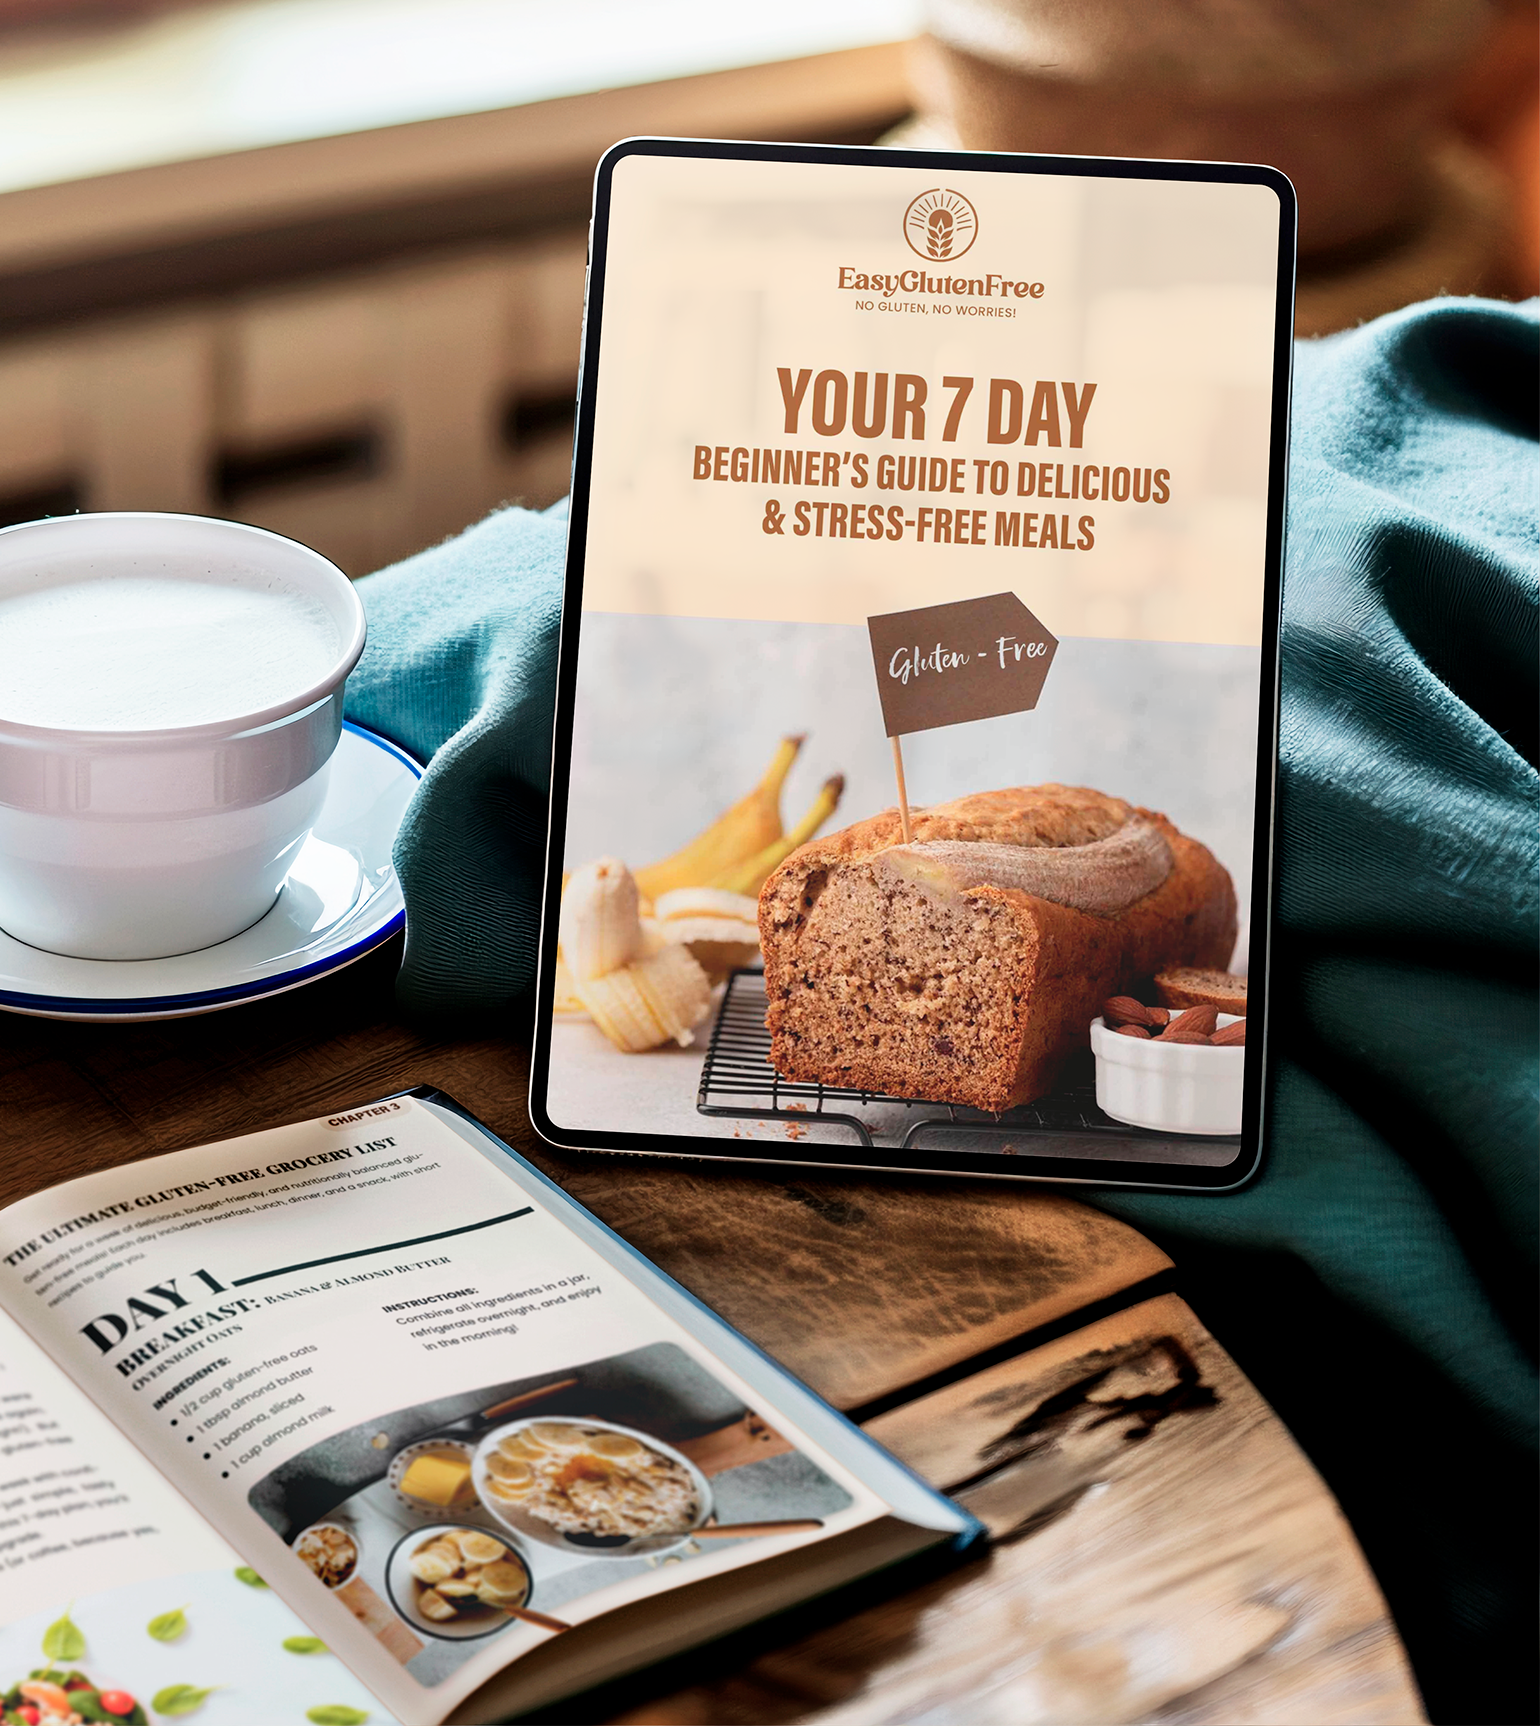
Download my free “Gluten-Free Made Easy” 7-day guide here — it includes a pantry checklist!
And don’t forget to check out this post:
“Top 10 Gluten-Free Grains That Aren’t Just Rice”
Step 4: Organize for Ease & Safety
Your future self will thank you for this.
Claire’s Kitchen Organization Tips:
- Store GF flours and grains in labeled glass jars
- Use separate shelves or bins for GF vs. non-GF items
- Keep a basket just for gluten-free snacks (snack raiders beware!)
- Color code or label drawers for clarity
Bonus: it looks gorgeous and Pinterest-worthy.
Step 5: Plan for Real Life (aka Not Everyone Will Be Gluten-Free)
If you’re not living in a 100% GF household, it’s okay.
You can still keep your food safe with a few habits:
Shared Kitchen Survival Tips:
- Designate gluten-free prep space (I use a bamboo cutting board just for me!)
- Use squeeze bottles for condiments (no double-dipping!)
- Label leftovers clearly (“Claire’s gluten-free pizza — do not touch unless you love me”)
And don’t worry — I’ve got a whole guide for navigating shared meals too:
“Dining Out Gluten-Free: 7 Tips I Swear By”
From Chaos to Comfort — You’ve Got This
I know it feels like a lot. But trust me, after the first few weeks, your gluten-free setup will feel second nature.
You’ll find your rhythm, your favorite snacks, your most-used utensils.
And you’ll realize: this space is for you — for nourishing your body, your joy, and your peace of mind.
Light a candle. Pour something bubbly.
And try your first (or next!) recipe right here:
Read Next & Cook With Me:
- Fluffy Gluten-Free Pancakes
- Fudgy Gluten-Free Brownies
- Oven-Baked Chicken Tenders (GF & Kid-Friendly)
- “The First Week Gluten-Free: What I Wish Someone Told Me”


