
Download the Free Guide to Foolproof Gluten-Free Baking Every Day

The Ultimate Guide to Gluten-Free Baking with 1:1 Flour (Success Without the Guesswork)
Gluten-free baking doesn’t have to be complicated, gritty, or hit-or-miss. With the right 1:1 gluten-free flour and a few smart techniques, you can turn out cookies, cakes, and muffins that actually taste like the “real” thing. This guide walks you through how to get consistent results every time so you can stop wasting ingredients and start loving your bakes again.
Download Our Free Gluten-Free Starter Guide
- 7-day meal plan
- shopping list
- Tips & 3 beginner-friendly recipes
Introduction
If you’ve ever pulled a tray of gluten-free cookies out of the oven only to find them spread into one giant pancake, you’re not alone. Gluten-free baking has a reputation for being fussy, unpredictable, and expensive when things go wrong. The good news: when you use a quality 1:1 gluten-free flour and understand how it behaves, baking becomes simple again.
Today’s “measure-for-measure” blends are designed to replace regular all-purpose flour in your favorite recipes with far less guesswork. But they still don’t act exactly like wheat flour. That’s where this guide comes in: we’ll walk through how 1:1 flour works, when it shines, when to tweak a recipe, and how to avoid the most common pitfalls like gummy centers, dry crumbs, or dense loaves.
Whether you’re newly gluten-free or just trying to bake for someone who is, this article will give you a clear, practical roadmap. You’ll learn how to choose recipes that work well with 1:1 flour, how to measure it properly, which baking methods give the best results, and how to store your flour so it stays fresh and reliable for months.
1. Understanding 1:1 Gluten-Free Flour Blends
Before you can bake confidently with any gluten-free flour, it helps to know what’s actually in the bag. A 1:1 (or “cup-for-cup,” “measure-for-measure”) gluten-free flour is a premixed blend designed to replace regular all-purpose flour by volume. You measure it the same way you would wheat flour and, in many recipes, swap it directly without changing the amount.
Most 1:1 blends contain a mix of naturally gluten-free flours and starches, such as rice flour, sorghum flour, potato starch, tapioca starch, and sometimes a small amount of bean or nut flour. On top of that, they typically include a binder like xanthan gum or guar gum, which helps mimic some of gluten’s structure and chew.
That structure piece is key: gluten in wheat flour traps air, gives dough elasticity, and helps baked goods rise and hold their shape. In gluten-free blends, the gums and starches take over some of that job. This is why you’ll often see “xanthan gum included” on the label of a 1:1 blend. If your blend already has it mixed in, you usually don’t need to add extra in cookies, muffins, or cakes.
However, even the best 1:1 blend doesn’t behave exactly like wheat flour in every situation. It tends to be more absorbent, which means batters may need slightly more liquid. It can also be a bit more fragile, so overmixing or underbaking is more noticeable. Instead of fighting that, it’s helpful to think of 1:1 flour as its own ingredient with its own personality: predictable once you get to know it.
Another important factor is the recipe style. Simple batters like pancakes, muffins, quick breads, brownies, and drop cookies are ideal candidates for 1:1 substitution. Recipes that rely heavily on gluten structure—like artisan bread, bagels, or laminated pastry—typically need more specialized formulas and can’t just be swapped 1:1 without adjustments.
Finally, remember that all blends are slightly different. If you change brands, expect minor variations in texture or moisture the first time you bake with it. Start by following the recipe closely, then make small tweaks next time if needed (a splash more milk, a minute or two extra bake time, or a slightly smaller scoop size for cookies).
2. How to Use 1:1 Flour in Everyday Baking
Once you’ve chosen a reliable 1:1 flour, you can start using it in the recipes you already love. The easiest place to begin is with simple, forgiving bakes: pancakes, waffles, brownies, banana bread, muffins, and classic drop cookies like chocolate chip or oatmeal (using gluten-free oats).
For many of these recipes, you truly can substitute your 1:1 flour blend cup-for-cup for regular all-purpose flour. That means if the recipe calls for 2 cups of wheat flour, you use 2 cups of 1:1 flour instead. However, how you measure that flour matters. For the best consistency, use the spoon-and-level method: fluff the flour in the bag, spoon it lightly into your measuring cup, and level it off with the flat side of a knife. Scooping directly from the bag packs too much flour into the cup and can make baked goods dry or dense.
In thicker batters like brownies or banana bread, pay attention to texture. Gluten-free batter should look similar to its wheat-based counterpart, but sometimes it will appear a touch thicker. That’s usually fine. If it seems overly stiff or hard to stir, add 1–2 tablespoons of extra liquid (milk, dairy-free milk, or water) at a time until it loosens slightly. It’s better to make small adjustments than to overhaul the recipe.
Eggs also play a big role in gluten-free baking. They provide structure, moisture, and lift—especially important when gluten is out of the picture. If you’re using a standard recipe that already contains eggs, you’re usually set. For egg-free recipes, you may need extra binding (such as flax “eggs” or commercial egg replacers) and slightly longer bake times to help things set properly.
Temperature and timing deserve a quick mention as well. Gluten-free baked goods are more sensitive to underbaking. A muffin or quick bread that looks “done enough” on top may still be gummy inside. Always check with a toothpick: it should come out mostly clean with a few moist crumbs, not wet batter. If the tops are browning too quickly, tent lightly with foil and continue baking until the center is cooked through.
Finally, remember that resting time can improve texture. Letting your batter sit for 10–15 minutes before baking gives the flours and starches time to hydrate. This often leads to a smoother batter and a more even crumb in the finished product—especially helpful with pancakes, muffins, and cakes.
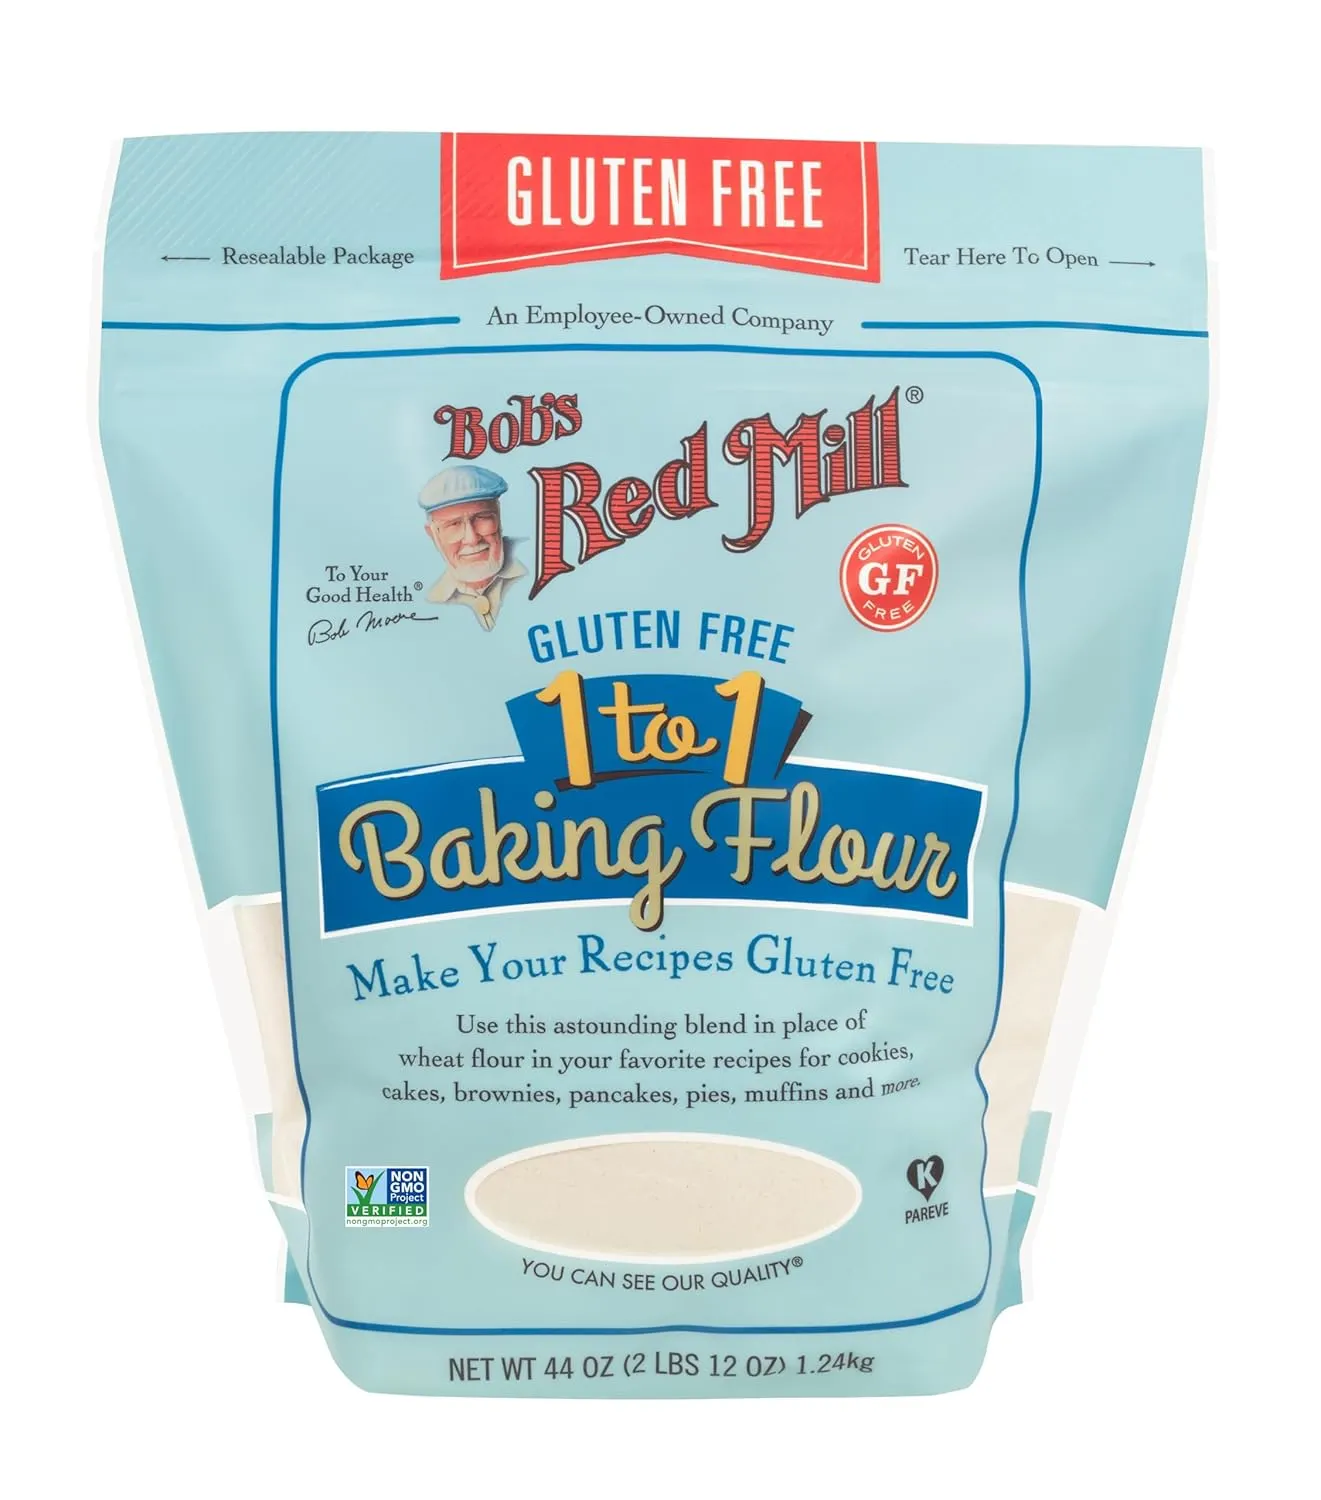
Bob’s Red Mill Gluten Free 1 to 1 Baking Flour
This is the gold-standard gluten-free all-purpose flour. It behaves beautifully in pancakes, muffins, cookies, quick breads — and it’s the ideal flour to recommend in ANY practical baking guide. Reliable, consistent, and approved by thousands of gluten-free home bakers. Perfect for articles about technique, substitutions, and baking success.
3. Common Gluten-Free Baking Mistakes (and Easy Fixes)
Even with a dependable 1:1 flour, a few small missteps can lead to disappointing results. The upside is that most problems are easy to troubleshoot once you know what to look for. Here are some of the most common issues and how to fix them next time.
1. Gummy or undercooked centers
Gummy texture usually comes from underbaking or slicing too soon. Gluten-free baked goods need time to set as they cool. Always check doneness in the center with a toothpick, and don’t be afraid to add 5–10 extra minutes in the oven for quick breads or loaf cakes. Once they’re out, let them cool in the pan for 10–15 minutes, then transfer to a rack and cool completely before cutting.
2. Dry, crumbly texture
If your cake or muffins crumble at the slightest touch, there may be too much flour or not enough fat or moisture. Revisit your measuring technique to avoid packing extra flour into the cup. Next time, consider adding a tablespoon or two of oil, butter, yogurt, or dairy-free yogurt to bring back tenderness. Storing leftovers tightly wrapped or in an airtight container also helps them stay moist longer.
3. Spreading cookies
Gluten-free cookie dough can spread more easily because it has less structure. If your cookies bake into thin puddles, chill the dough for 20–30 minutes before baking. You can also reduce the baking temperature slightly (for example, from 350°F / 175°C down to 335°F / 170°C) and bake a minute or two longer to help them set before they spread.
4. Dense or heavy loaves
Overmixing is often the culprit here. Without gluten, there’s no benefit to beating the batter vigorously; in fact, it can knock out the air and leave you with a brick-like loaf. Mix just until the flour disappears, then stop. A bit of extra leavening can also help in some recipes: increasing the baking powder very slightly (by 1/4 teaspoon) may give a better rise, but avoid large changes on your first try.
5. Strange aftertaste or gritty mouthfeel
A sandy texture can mean the flour wasn’t hydrated enough, or that the bake time was too short. Resting the batter, as mentioned earlier, gives rice flour and starches time to absorb liquid. Baking thoroughly and cooling completely also smooths out the texture. If you notice an aftertaste, double-check that none of your ingredients are past their prime, especially baking powder, oils, or dairy substitutes.
When something goes wrong, make a quick note of three things: oven temperature, bake time, and batter consistency. Adjust one variable at a time on your next attempt so you can see what actually makes the difference. Over a few bakes, you’ll start to recognize what “right” looks like for your oven, your flour, and your favorite recipes.
Recipe Inspiration
Try these gluten-free staples loved by thousands:


4. Best Techniques for Light, Tender Gluten-Free Bakes
Technique is where gluten-free baking really transforms from “good enough” to “that’s amazing—are you sure it’s gluten-free?” You don’t need special equipment, but a few small habits make a big impact on texture and flavor.
Measure accurately
If you own a kitchen scale, using grams will give you the most consistent results. If not, stay faithful to the spoon-and-level method for flour and level off leaveners like baking powder with a straight edge. Even small measuring differences can add up when you’re working with gluten-free blends that are more sensitive to moisture and structure.
Bring ingredients to room temperature
Cold eggs, milk, or butter can cause batters to curdle or not mix smoothly. Let refrigerated ingredients sit out for 20–30 minutes before you start. Room-temperature ingredients combine more easily, trap air better during mixing, and help your batter bake more evenly.
Use the right pan size
Gluten-free batters don’t always tolerate major pan swaps. If you pour a quick bread recipe meant for a standard loaf pan into a deep, narrow pan, the center may never fully cook. Stick to the pan size specified in the recipe whenever possible, or adjust baking time and expectations if you change it.
Don’t rush the oven
Preheating fully is non-negotiable. Putting gluten-free batter into a cool or lukewarm oven can lead to poor rise and an uneven crumb. Wait until your oven reaches the correct temperature, and try not to open the door in the first two-thirds of the baking time. Sudden temperature drops can cause delicate cakes or loaves to sink.
Add moisture boosters when needed
Ingredients like mashed banana, applesauce, pumpkin puree, yogurt, sour cream, or dairy-free yogurt can work wonders in gluten-free baking. They don’t just add flavor; they also help keep baked goods tender over several days. If you’re adapting a favorite recipe, you can often introduce 2–4 tablespoons of one of these without harming the structure.
Finish with proper cooling and storage
Once something comes out of the oven, it’s still “baking” internally as it cools. For cakes and quick breads, cool in the pan briefly, then transfer to a rack so steam can escape. Storing items while they’re still warm can trap too much moisture and make the surface sticky. After cooling, wrap well or store in an airtight container. Many gluten-free baked goods freeze beautifully, so don’t hesitate to bake once and enjoy all week.
As you practice these techniques, you’ll notice that your gluten-free bakes start to look more uniform, rise more consistently, and stay delicious for longer. You’ll also develop intuition: you’ll know when a batter looks “right” and when to make a small tweak before it even goes in the oven.
5. Planning, Storing, and Baking Ahead Like a Pro
Gluten-free baking becomes much less stressful when it’s part of a simple weekly rhythm instead of a last-minute scramble. Planning ahead also saves money on specialty ingredients and reduces the risk of waste.
Store your flour correctly
Keep your 1:1 flour in an airtight container, away from heat and light. If you bake frequently, a sealed container in a cool pantry is fine. For longer storage, especially in warm climates, the fridge or freezer can help preserve freshness. Just make sure the container is very well sealed so the flour doesn’t absorb odors or moisture. When using chilled flour, let it come to room temperature before baking for best results.
Build a “core recipe” rotation
Most home bakers only need a small set of reliable recipes: a go-to pancake, a favorite muffin, a classic cookie, a quick bread, and maybe a simple cake. Choose two or three recipes that work really well with your 1:1 flour and keep those ingredients on hand. Once those feel easy, you can branch out into more adventurous recipes using the same base skills.
Use your freezer strategically
Gluten-free baked goods are fantastic candidates for batch baking and freezing. Muffins, pancakes, waffles, and many cookies freeze and reheat beautifully. Bake a double batch, cool completely, then freeze in a single layer before transferring to a bag or container. Reheat gently in the oven, toaster, or air fryer for quick weekday breakfasts or snacks.
Label clearly
When you’re storing different flours and baked goods, labels are your best friend. Mark containers with the flour type and date, and label frozen items with what they are and when you baked them. This keeps your gluten-free kitchen organized and helps you rotate items before they lose quality.
Create a simple baking ritual
Instead of wondering every day what you can eat, schedule one baking session each week. For example, Sunday afternoon might be “muffins plus snack bars” day. Use your 1:1 flour for a batch of breakfast muffins and a tray of cookies or bars. With just a couple of hours, you’ll stock your week with safe, gluten-free options and remove a lot of last-minute stress.
Over time, this rhythm, combined with a trustworthy 1:1 flour and a handful of proven recipes, turns gluten-free baking into something that feels natural and manageable. You’ll know exactly what to reach for, what to bake, and how to store it so there’s always something tasty waiting for you.
Key Takeaways
- 1:1 gluten-free flour blends are designed to replace all-purpose flour by volume, but they still have their own quirks and need thoughtful handling.
- Start with simple recipes like pancakes, muffins, brownies, and cookies, measuring flour with the spoon-and-level method for consistent results.
- Most common problems—like gummy centers, dry crumbs, or spreading cookies—can be fixed with small tweaks to bake time, chilling, or moisture.
- Good technique, including accurate measuring, proper preheating, resting batters, and cooling fully, makes gluten-free bakes lighter and more tender.
- Storing flour well, planning a weekly baking rhythm, and using your freezer strategically turn gluten-free baking into an easy, sustainable habit.
Take the Next Step in Your Gluten-Free Journey
- Download the Free EGF Starter Guide
- Try our Gluten-Free Planner to simplify your week
- Explore our growing recipe library
You don’t have to navigate the gluten-free lifestyle alone, we are here to make it easier every day.
Category: Baking Tips

